top of page
MEH.jpg

SERGIO GARCIA

The Source with the best photos

Search
Home: Blog2

Aperture Control

Static+Dynamic

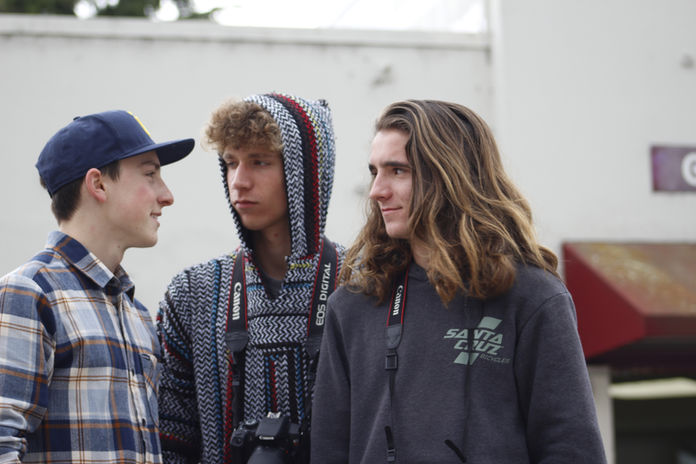
   The first image shows a dynamic composition because the branches are going at random angles. The  comparison between the building in the background that shows straight lines.  The picture to the left shows dynamic composition because these two individuals are facing two different directions and the edge of the building is slanted so they are not in a straight line. 

    The 5th image on the gallery shows the structural building of the Santa Cruz High School Cafeteria. To start of with the building does not move and it creates a right angle. The tree in the background is perpendicular to the roof of the building which also adds to the description.

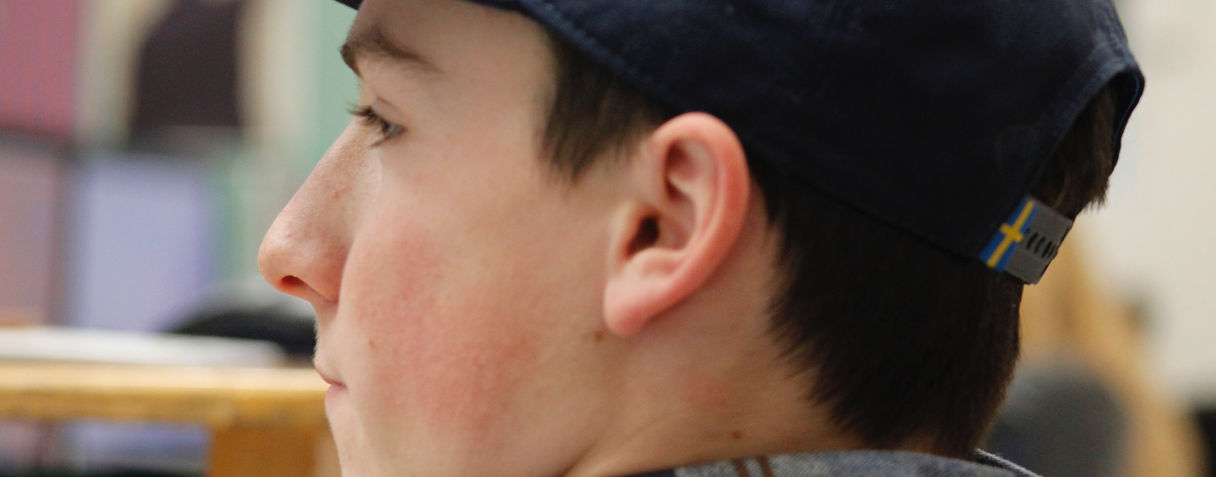
   The third picture is static because the bird is standing perpendicular to the stair case. The stair case is the the main object in this picture. The fourth picture is dynamic because each person is looking at different things and they are laughing.The sixth and seventh are both dynamic because in the sixth photo the person is lookin at angle and the camera is pointed away from him. Lastly the two images are static because the both people are static and show parallel lines.

Shutter Control

Iso project

   In this project we were supposed alter the exposure, shutter speed, the other options so that it will appear that the quality of the picture would not change. Exposure in a camera is used to let much light is going into the camera.  The shutter speed is supposed to control how much light goes in a short certain amount of time.  The lastly we were changing in Digital Photography ISO measures the sensitivity of the image sensor.

   We used these tools because we wanted demonstrate skill by changing the ISO from 100 frames per second to 400 to 1600 to 6400. So that would mean that any movement on the camera it would alter the outcome of the picture. and that is why a camera stand to keep the camera stable the whole time. The exposure was constantly changing when we changed the ISO and so we had to wait until the pointer in the camera screen was in the middle so that the image were to be good.

  To make it seem that the 4 pictures that I took didn't look not aligned I had to shift some of the photos up a pixel or two. I learned to set of skills in photoshop that helped me improve the photo and split each picture into percentages of each. For example I didn't know how to draw the dark lines or the lines at all. I had to change the measuring option into percentages so that the image would be divided with more precision. This project was simple because the objective was clear but you actually had to be careful and precise in making the edits and taking the photos.

Rules of thirds

Subscribe Form

8314198311

©2020 by Sergio Garcia. Proudly created with Wix.com

bottom of page